Setting up ZFS Filesystems
The following section documents how setup a ZPOOL and ZFS Filesystems in Napp-IT.
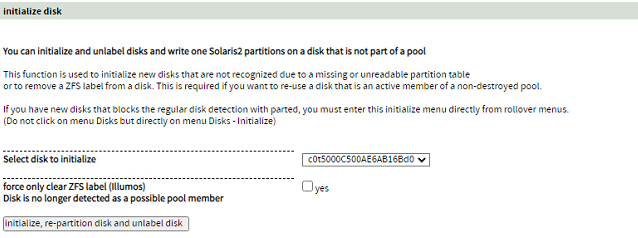
Initializing the disks
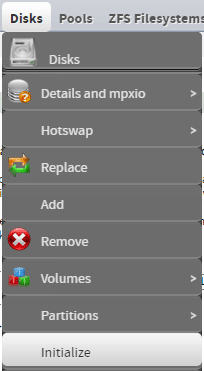
Firstly we need to go to the Disks section in NAPP-IT and make sure they are initialized and not taken by any other filesystems. Go to the Disks Menu and click the Initialize button.
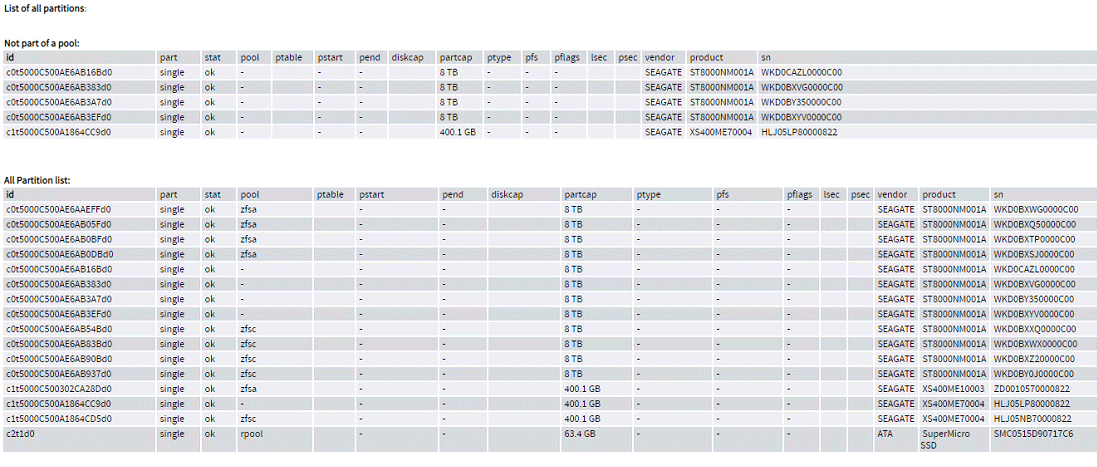
- Here you’ll be able to see which disks are taken by a pool and which disks are not.
- It also gives us other relevant data such as serial numbers and capacity (might be useful for hot-swapping disks and helping identify them)
Initialize the new disks (if you’ve added disks to a previously in-use system be careful not to initialize incorrect disks that may be in a shared backplane with another node).
Now you can proceed to create the ZPOOL.
Creating the ZPOOL
Once you’ve initialized the disks you can go ahead and create the pool. If you wish to create a RAID10 pool you’ll need to first create a RAID 0 pool and then add more mirror pairs subsequently. If you have 4 disks you’d create first one pair then extend the pool with the second mirror pair.
- Create the pool with one mirror…
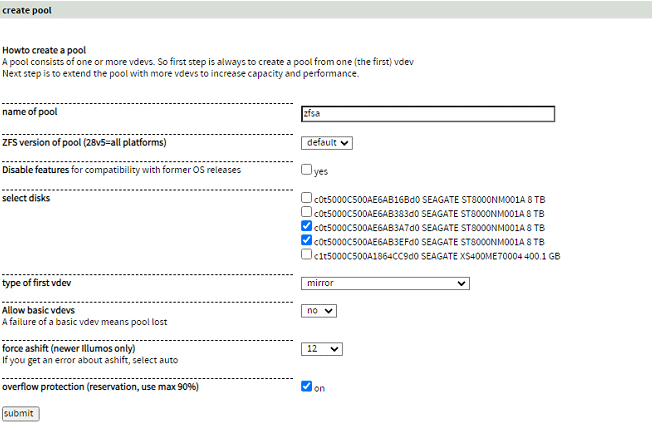
- And then extend it with the second mirror.
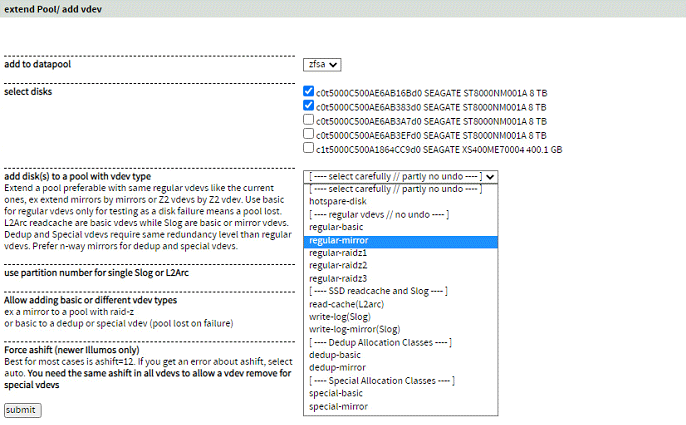
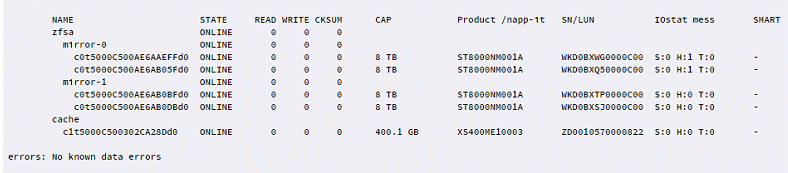
You should end up with something along these lines (except for the cache disk, which is added with the same method but selecting it as cache instead of a mirror).
Creating the ZFS Filesystem
After creating the ZPOOL you’ll probably want to create ZFS Volumes! To do that head to the ZFS Filesystems dropdown and hit “create”.
The following screen will show up:
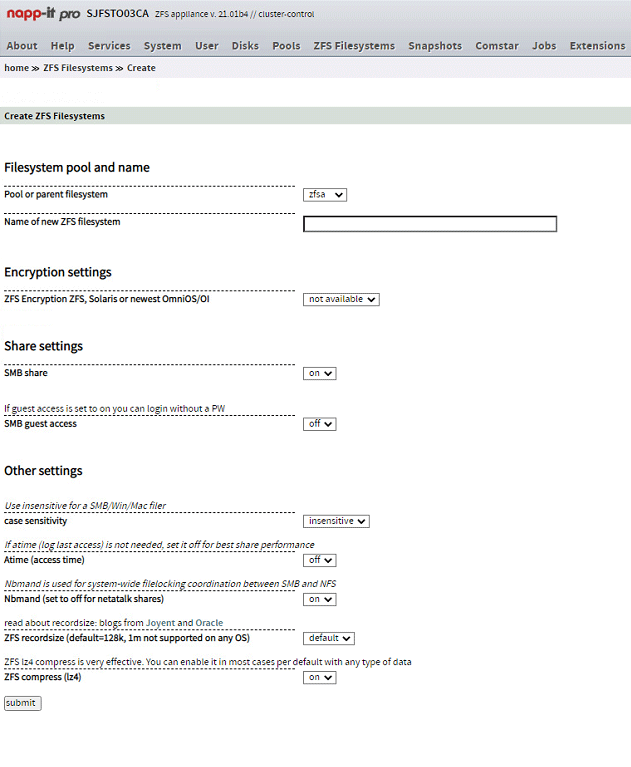
Choose your desired ZPOOL in which to create the ZVOL/Dataset. I recommend enabling ZFS Compression with LZ4 and leaving everything else as default.