Generating an OpenVPN Certificate
Creating the Certificate
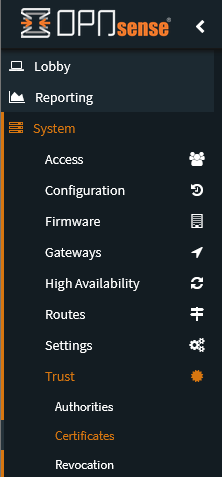
- To create a certificate within your OPNSense OpenVPN Server, you must first go to
System → Trust → Certificates.
- Click on
+at the top of the data table.

- Here you’ll be able to create a new certificate, bear in mind it’s recommended to follow a naming convention you’ll remember.
We usually use the following settings:
- Key Type: RSA - 8192
- Digest Algorithm: sha512
- Lifetime: 36500 days
For example:


Assigning an Alias
This is mostly for ACLs and Permission Management. If you’ve assigned permissions to the entire Road Warrior subnet it might be redundant/unnecessary to assign a specific IP.
Once you’ve created the Certificate you’ll most likely want to allocate a /30 subnet or
specific IP Address to it.
There are two ways to do it, but firstly you’ll want to assign it an alias.
To do this go to Firewall → Aliases and create a new alias in which you set up the
desired Subnet or IP Address.
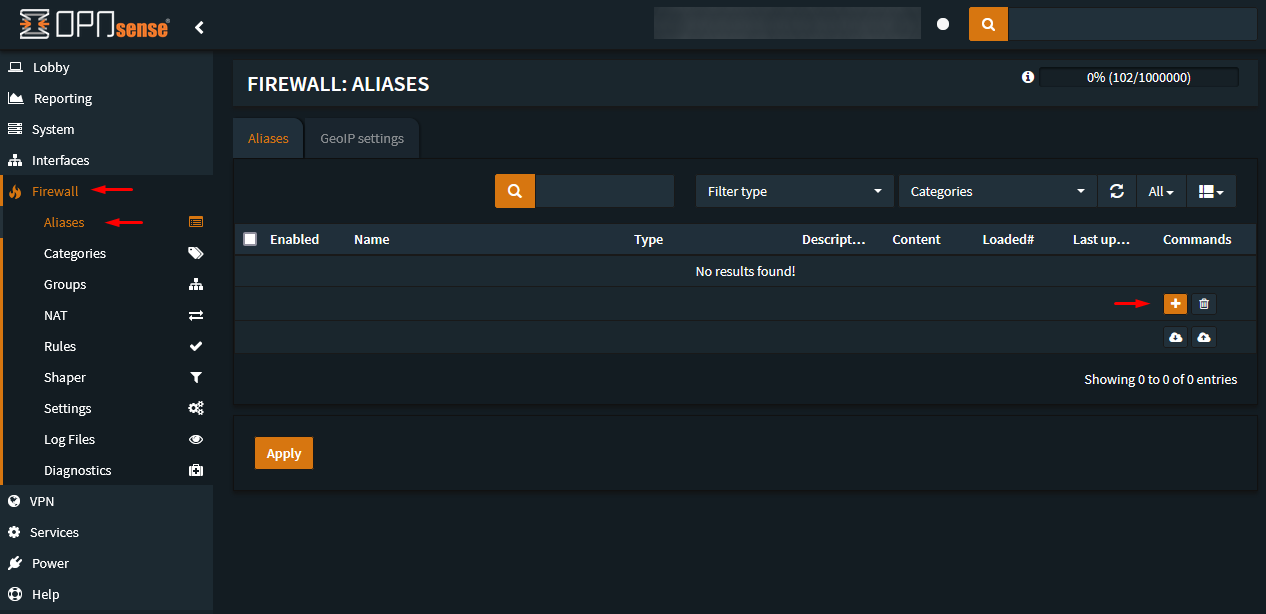
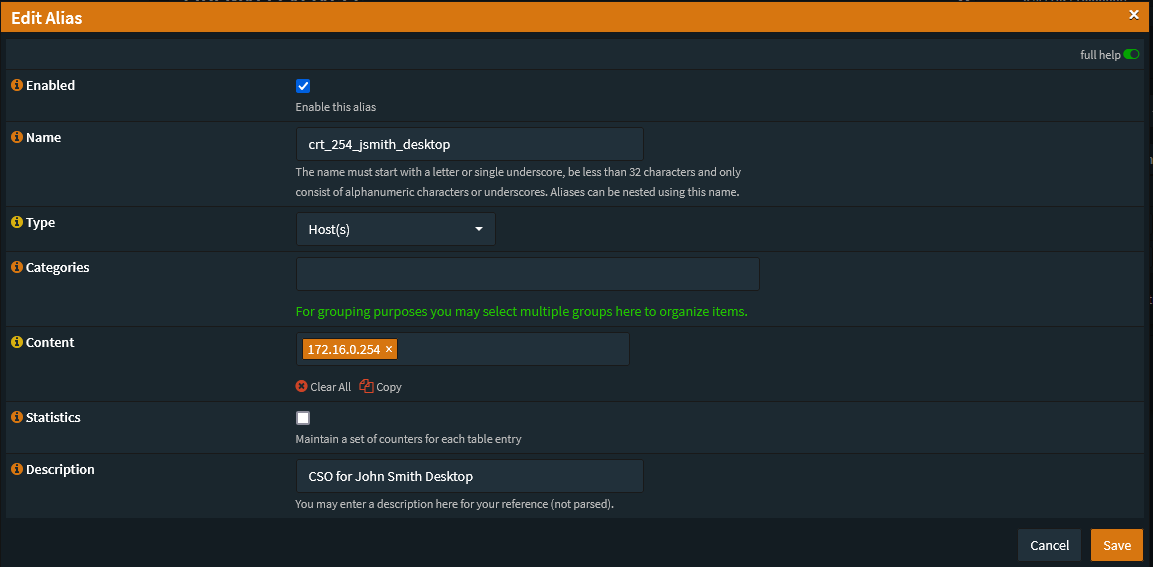
Create the alias with the corresponding IP Octet or /30 subnet.
Allocating a Subnet or an Address
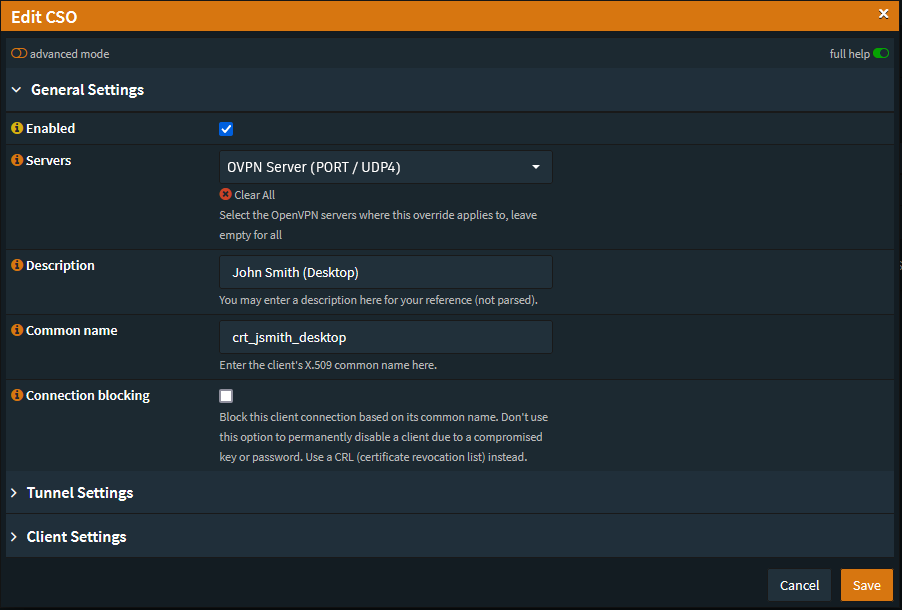
Once you’ve created an alias for the certificate you’ll need to actually assign that address or subnet to the Certificate Client with a CSO (Client Specific Override).
You can do this by going to VPN → OpenVPN → Client Specific Overrides
- Hit the
+button at the bottom. - In the Common Name you’ll want to enter the Certificate name you’ve used.
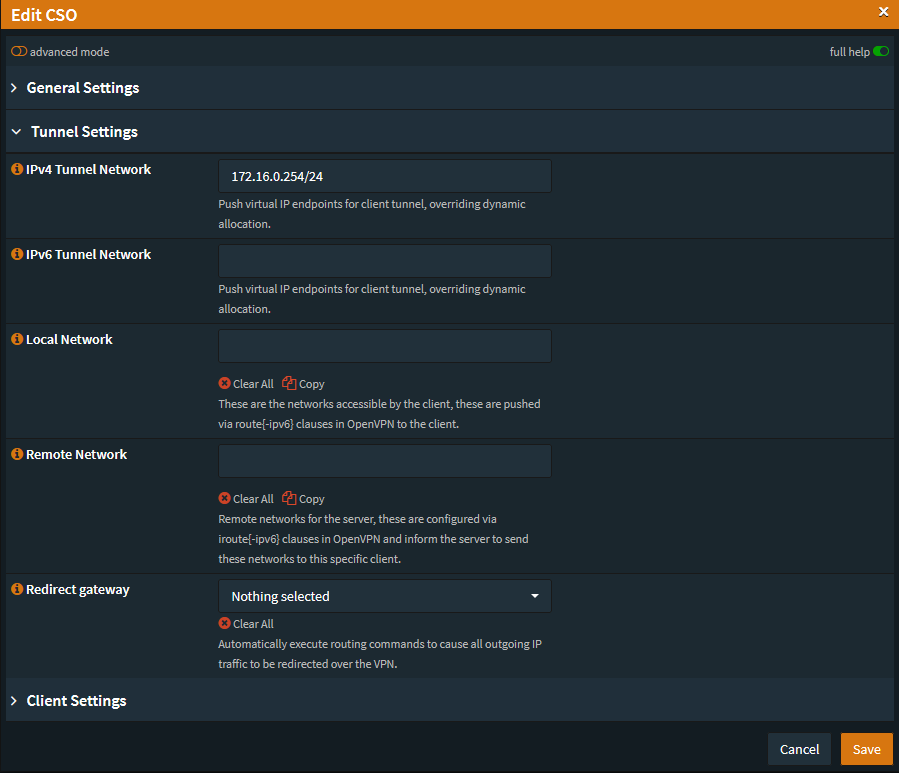
- In the Tunnel Settings set the
/30subnet or the Assigned IP in/24CIDR Notation.
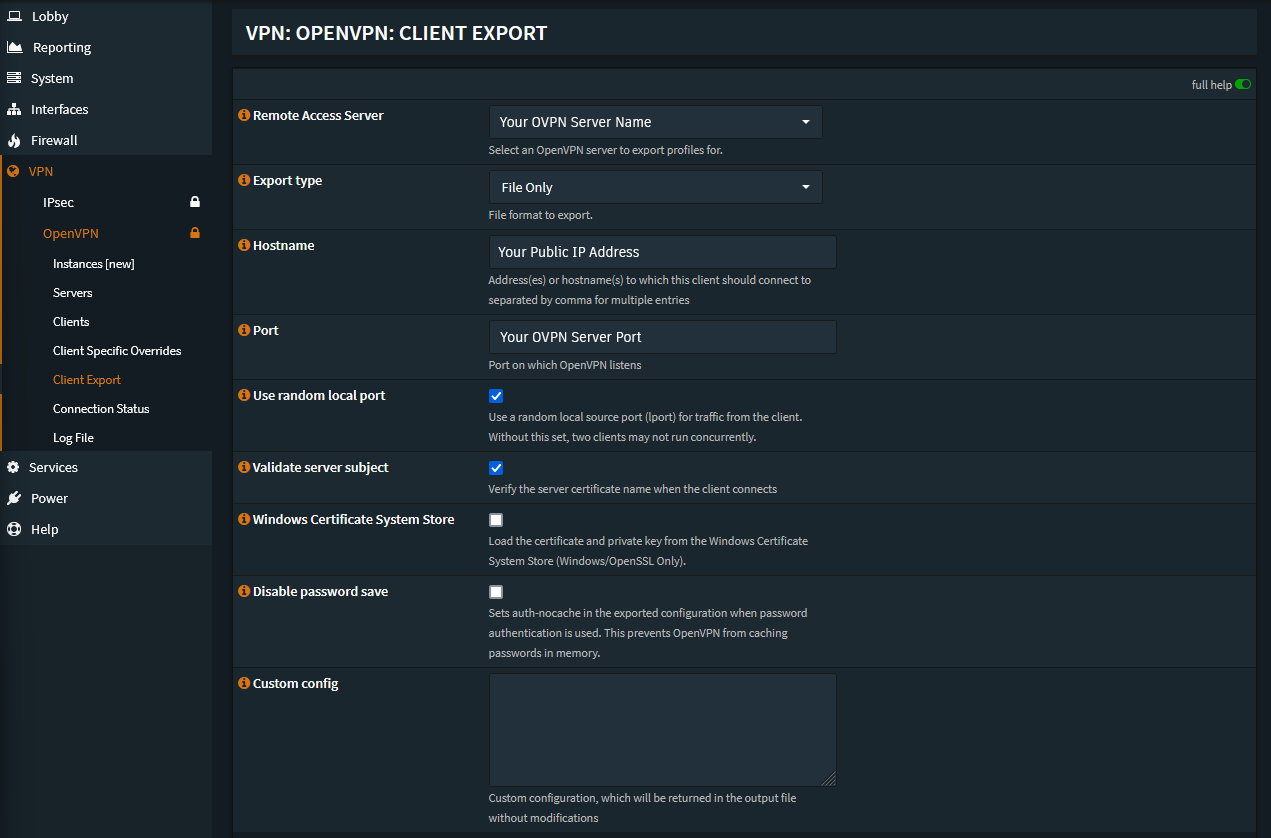
Export Certificate
Finally you can export the certificate as an .ovpn file from
the VPN → OpenVPN → Client Export tab.